This is one of the most beautiful things I have ever made. I don't know how to articulate it without sounding full of myself but so be it;
if you truly love what you have made then I see no shame in expressing such.
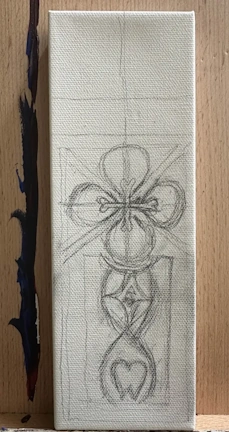
I started off with a rough sketch then moved onto CAD. I selected a 3/4"Dx48"L wooden rod for the core; 48" was the longest they had, and anything narrower than 3/4" wasn't rigid enough. I had to get two and cut one to size because I wanted the blade to be longer, as the core would also serve as a tang. Into CAD the wood core went.
For the blade itself, I started with the tip. Looking back on it I shoulda made the tip more centered, but in the end it gave the sword a sort of "direction" that I think works.
Since the shape of the blade was regular and it would have to be printed in sections, it made sense to just make one section and pattern it down. This way any changes I made to the original section would propagate to the patterned ones. I then adjusted the profile to look right to me while still being as flat as possible. I also put holes for peg on each end of the sections to keep them alligned.
I then made a quarter-section to bring it back to center for the straight section of the blade. The four holes at the base are for holding flowers, which was inspired by a design choice for the hilt.

Since there was going to be a break in the core where the whole rod stopped and the extention started, I had decided to place it inside of one of the pieces between the middle turn and the end; I simply felt that this was likely the strongest part of the piece, and knew I needed to try to get as much of the weight on the longer core as I could.
After going through the "print->test fit->adjust dimension->repeat" process, I went ahead and printed out all of the blade pieces for assembly. For the section that would house the break, I positioned the core sections where they were to be glued and made a line for reference, and cut the extention to length. I started with the the tip and worked my way down, coating the core in glue before sliding the next piece on and the mating pegs into place (I applied glue to the whole of each peg, because why not; it wouldnt make it weaker), trying to press the pieces together firmly.
After the glue dried, I sanded down the surface of the sword with sandpaper grits 100-220. There are some seams where I should have shaved off the extra wood glue at this stage, but I figured with enough bondo and paint I could smooth them over. I was wrong.
On went several layers of bondo; I had watched this video (link) and learned that this type (link) could be thinned with acetone an brushed on to fill in the remaining print lines and provide a smoother surface finish. After applying a few layers, I sanded it down one more time.
Next came a couple coats of primer spray paint before another couple of the brass. I hadn't planned on painting it much more than this; a layer of lustrous topcoat for a more realistic metallic look, maybe a few wear marks or scratches here and there for flavor. However, when After unsuccessfully attempting to cover up the remaining seams, I decided to try to disguise them by painting them as if the seams were places where the blade had broken and been fused back together, or cracked and filled in with some strange substance. Around This point is also whereI found I could apply some of goldish-bronze metallic paint along the edge to make it look like a sharpened edge, which was a particularly exciting development to me.
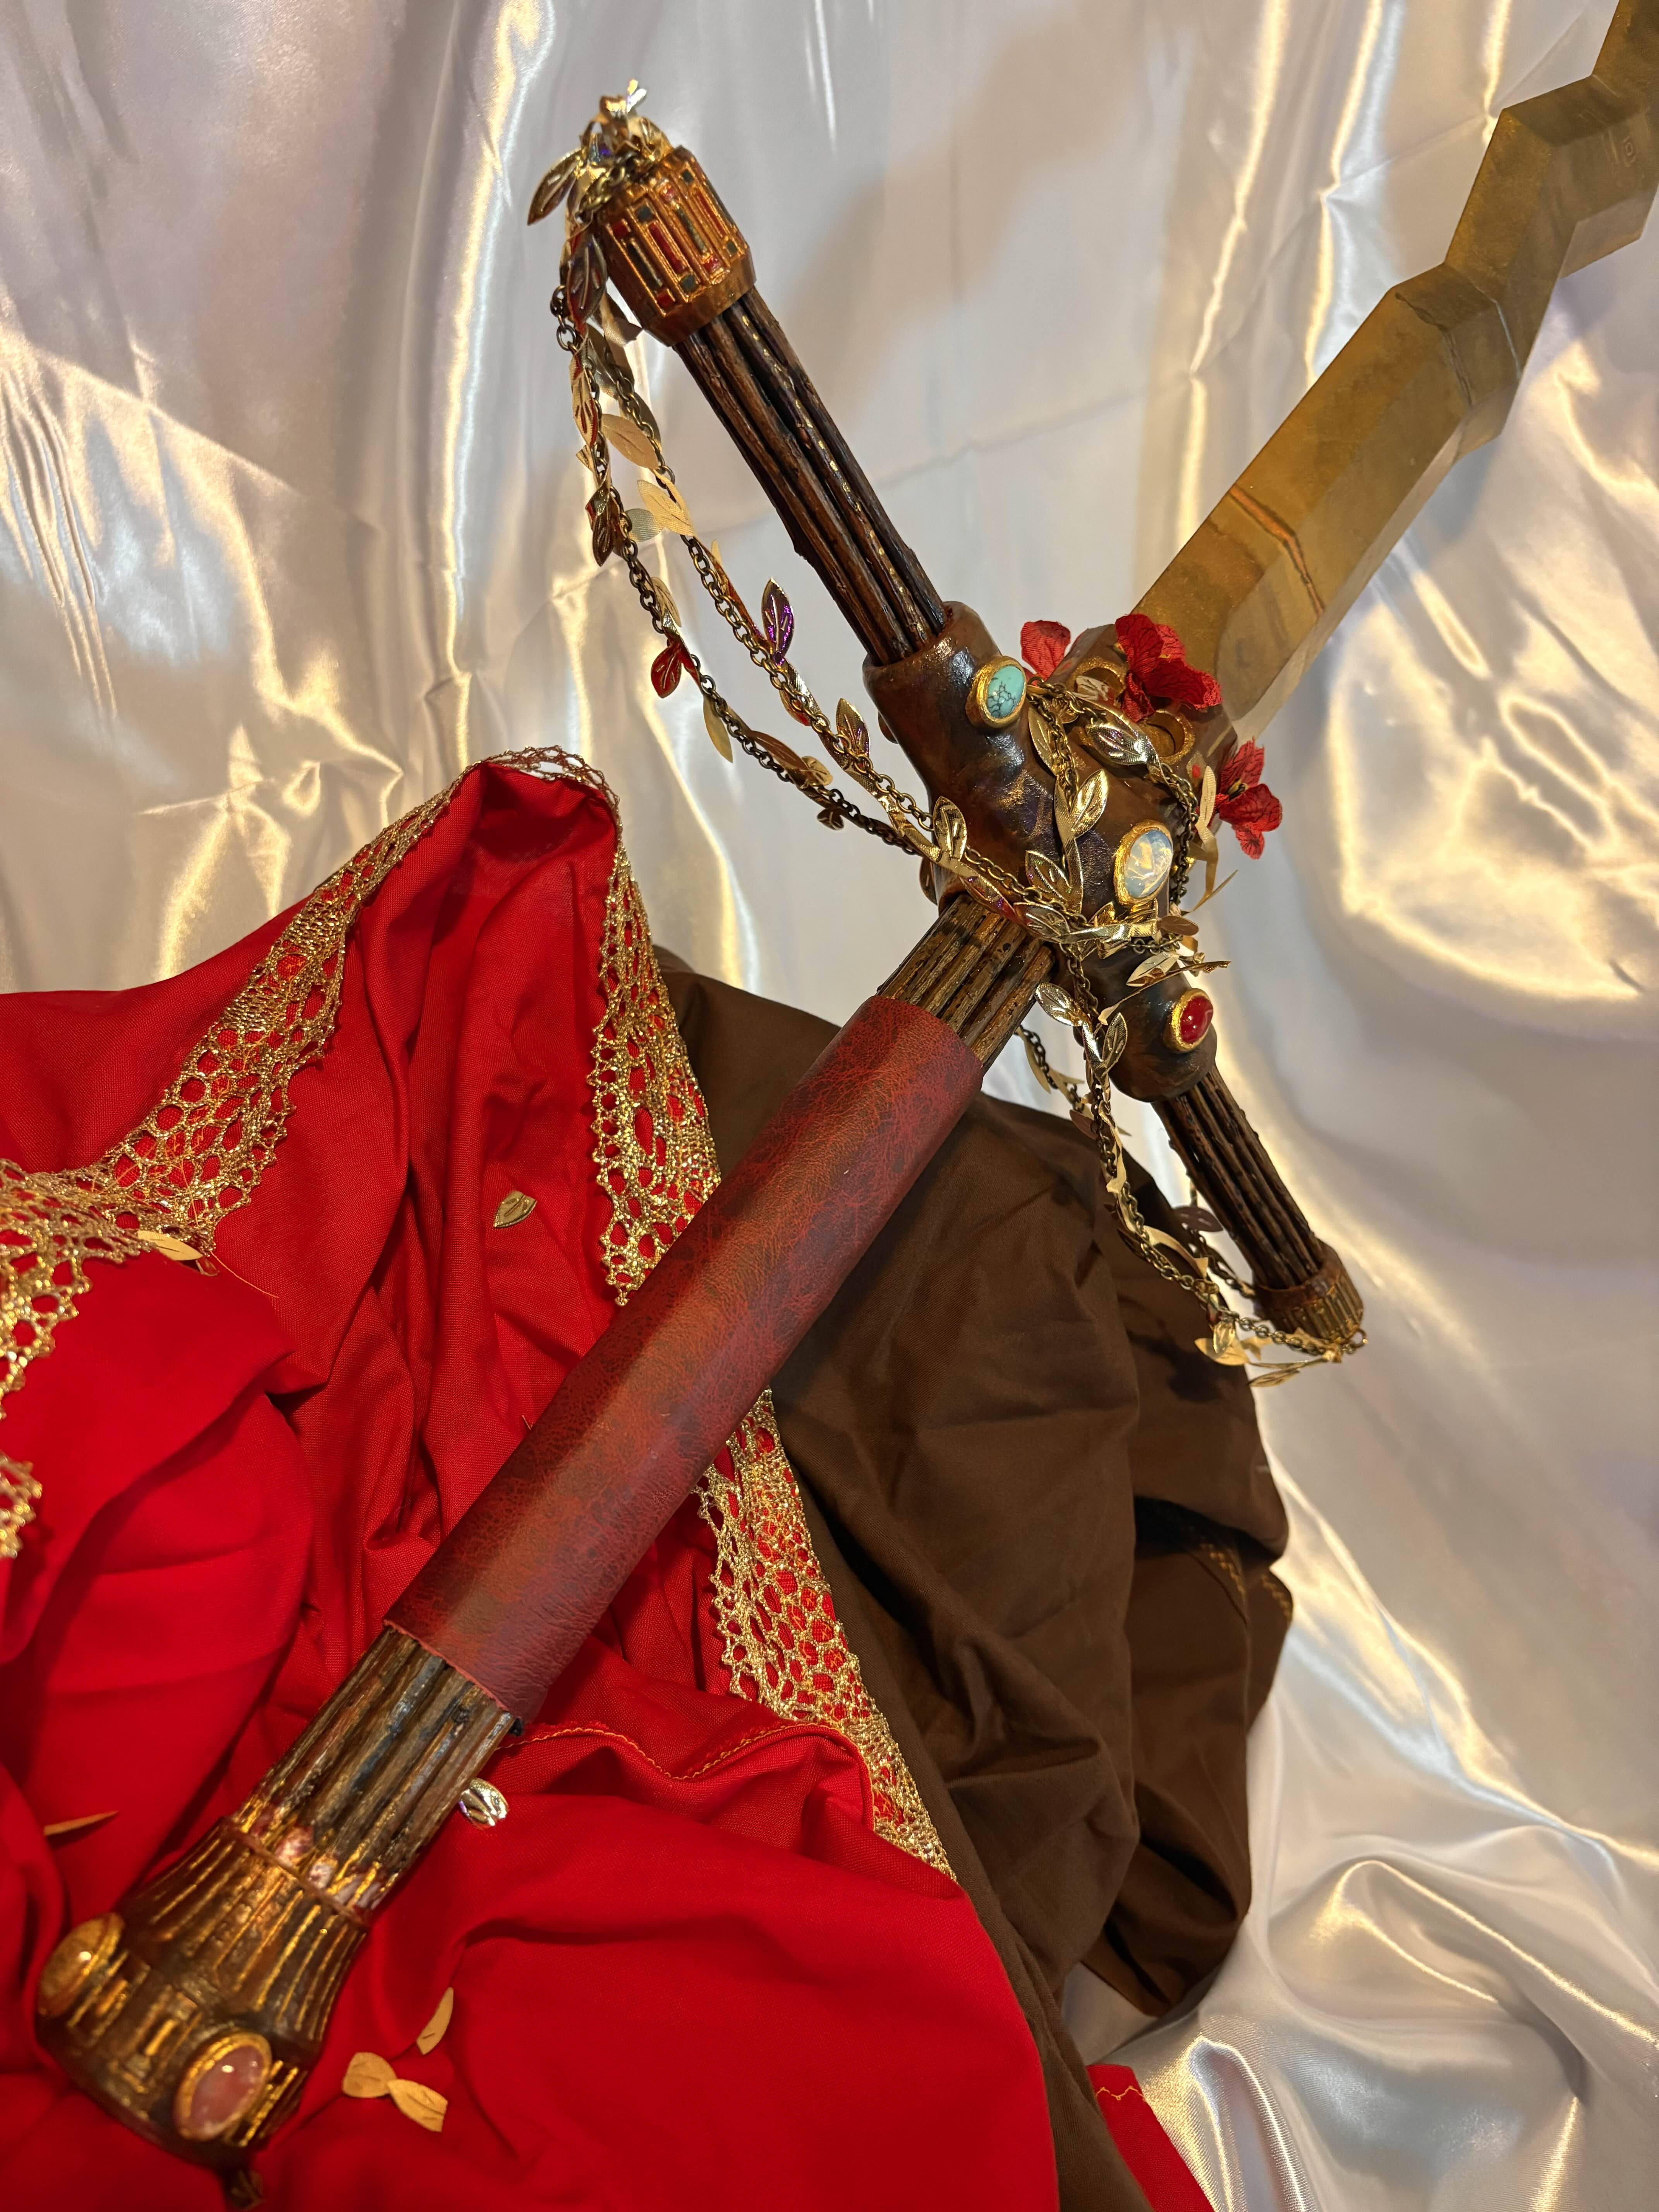
Around then was when something clicked and I got a very strong image of this sword being very old, having been wielded on some grand journey and retired to a shrine, its original hilt having been replaced with a more ornamental one so it could still serve in a cerimonial role, much like a reliquary. I wanted it to make the viewer wonder what had happened, like gazing upon the ancient corpse of a weary, scarred knight, their corpse lovingly preserved and adorned by the decendents of the people they once protected, thier flesh burned and flayed, a missing section of cheek, the exposed teeth having been inlayed with gold, pearls, and gems, their missing eye replaced with a jade orb, their missing fingers with articulated bronze prosthetics. Despite their state, you feel that at any moment they could rise again to perform their duty. This is also when I got really into Quest Master (link) and listened to it throughout most of the remainder of the process.
It was a wonderful feeling being swept up in the thing I was making. I sorta started larping as one of the members of the temple in which it was kept, similar to how I was imagining myself as a devoted alcolyte when I was making the Talisman (link); I have found that it greatly helps creativity and motivation to develop a character to play for what you are making.
I tried to space out the details in such a way as to not draw too much attention from everything else. While it was terribly fun adding details, I had to stop myself for fear of making it look too crowded for the look I was going for.
-
The hilt is where i started getting creative with the geometry and doing some artistic interpretation. This section is in the order that I approached the bulk of each part; there was some hopping around, but from a process point of view this was how it mostly flowed.
-
The Heart and Rain Guard
While what I am calling the "heart" is technically part of the guard, it is its own piece and to me certainly feels like the heard of the sword.
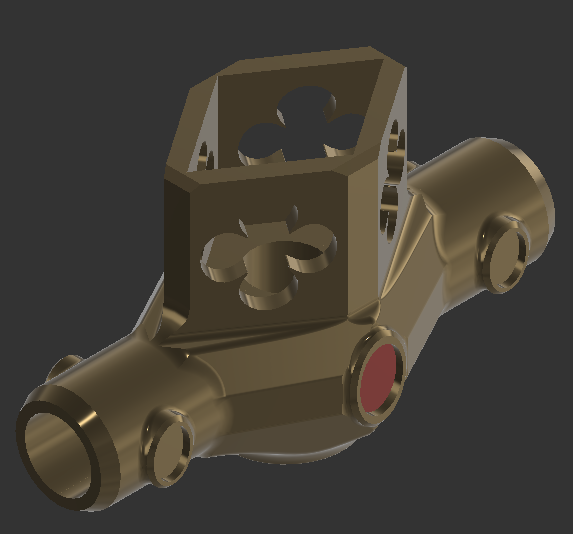
I just went with what I thought looked cool for the shape and tried to make it look like something that could have been feasibly made by casting. I added the poppy-window rain-guard to add a more artsy/ornamental feel to it; this was when I got the idea to put holes in the blade itself, so that flowers could be placed in them and be framed by the poppy-shaped windows.
This piece was printed in two parts and used dowels for alignment during gluing, as with the blade. I also used bondo for this piece along with a couple coats of primer. This was another case where I should have used more bondo to fill gaps, but hey live n learn
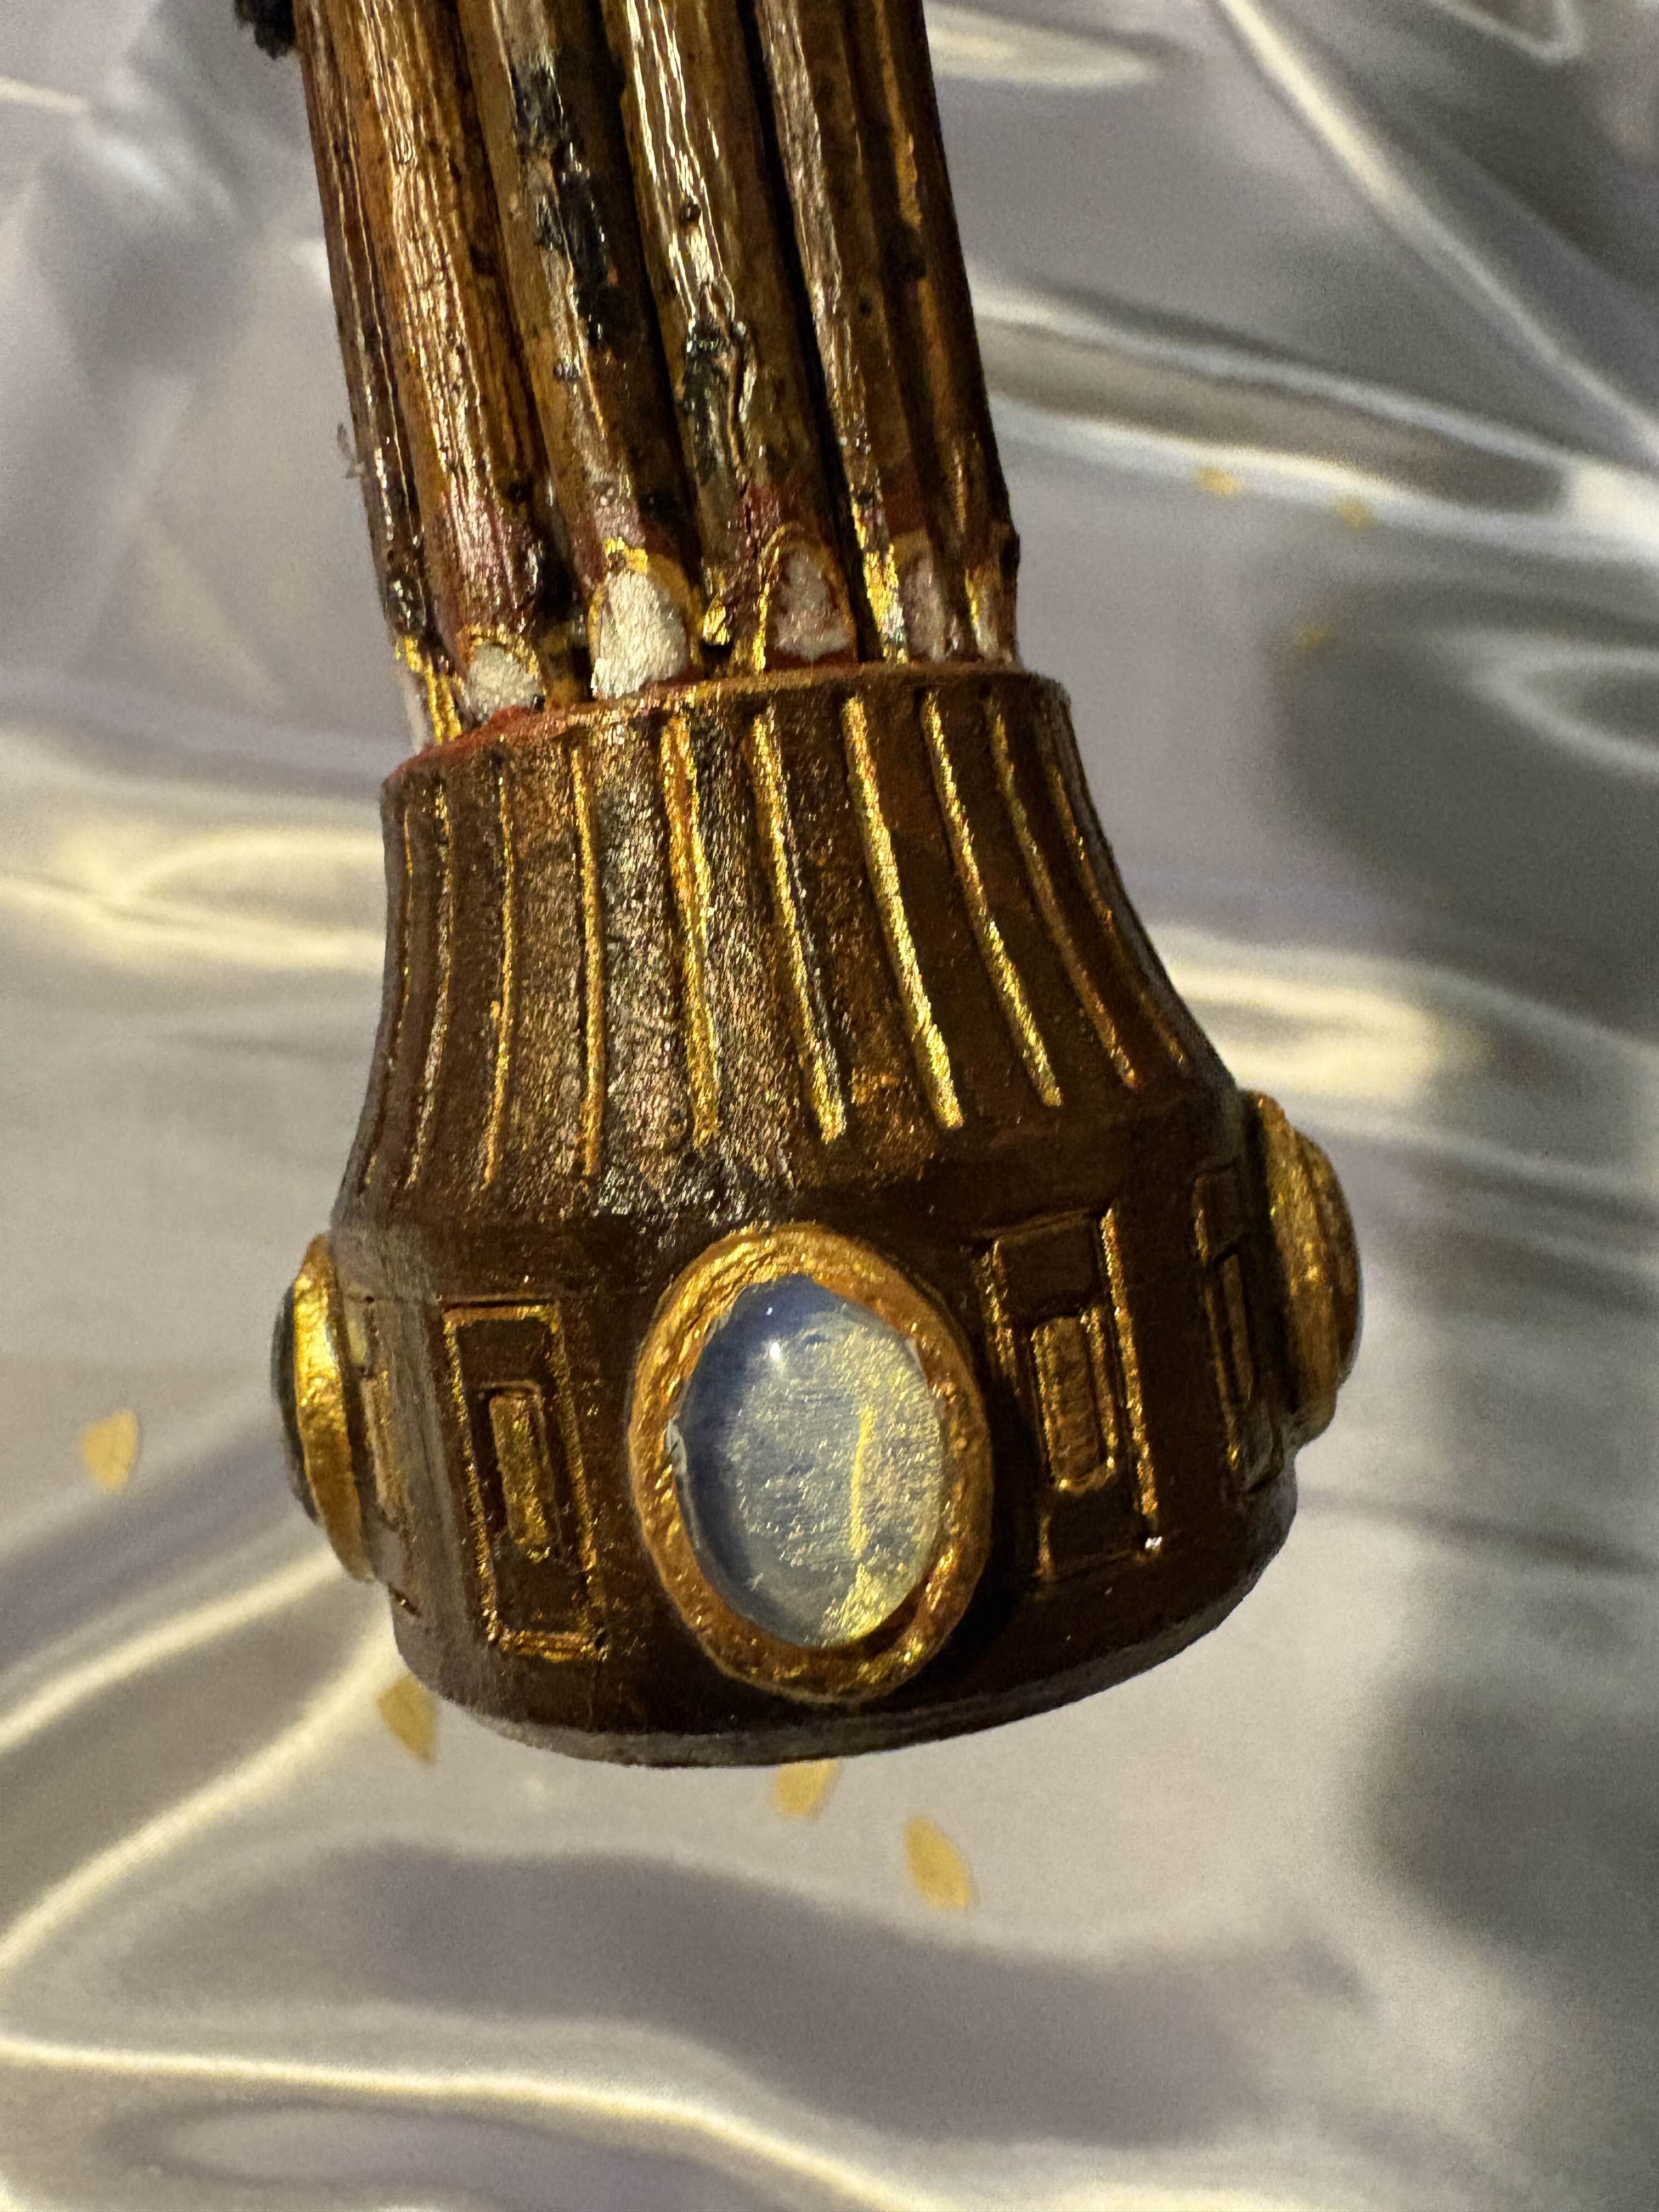
The stones on Alice's ritual dagger vary in shape, but the stones that I found that looked the best to me only came in uniform round cabochons. There were plastic ones with more angular shapes, but they didn't look as good so this was a compromise I was willing to make. I chose and placed together colors that I felt had a natural and regal vibe and also matched Alice's 4.0 aesthetic. While I like the stones I chose for each side, I like the opal/moonstone-ish, red, and turquoise combination the most. Some thing about it really speaks to me. When it came time to glue them in place, I painted the back of the setting with a metallic-pearl paint to help make the clear stones pop. I had considered gluing pearlescent paper, but I ended up likeing how the texture of the paint along with the print lines looked through the stones so I kept it.
I had originally planned to paint the Heart so look like wood, but as I was painting it started reminding me of old cast iron that had developed a healthy patina of rust so I went with it.
-
The Cross-Guard Caps
I really liked painting the Hamlets for this part. The pieces are held in place by a short wooden dowel and glue.
-
The Cross-Guard
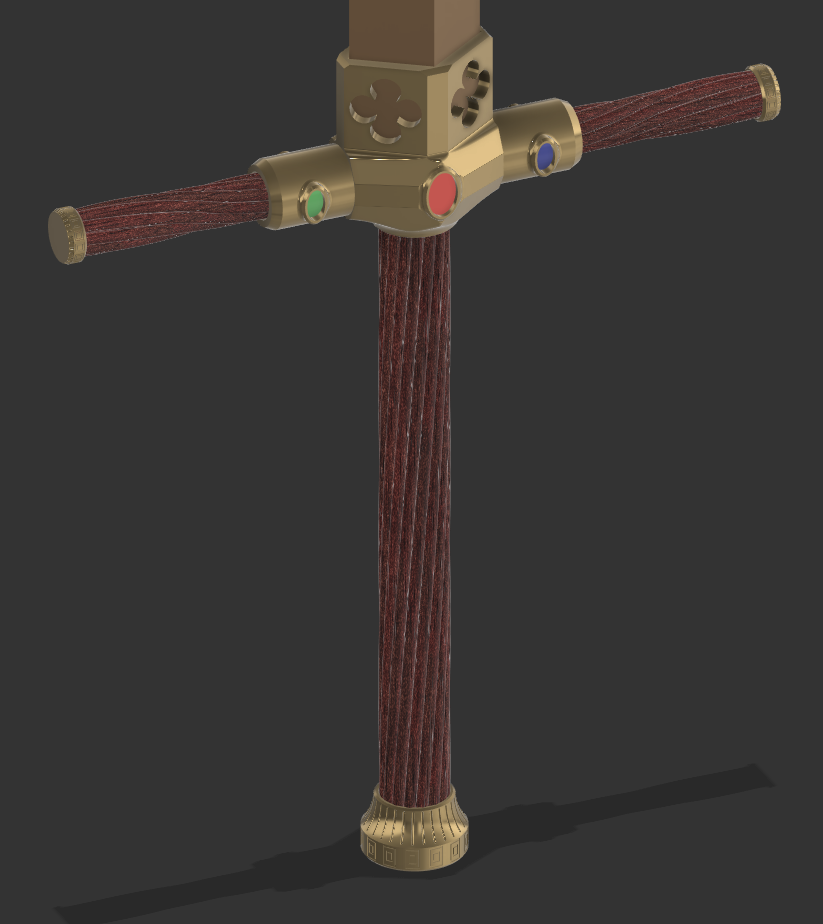
Alice's ritual dagger has a wooden hilt and handle handle with rounder shapes, and while I wanted to keep the natural, organic theme, I was having a hard time thinking of how to adapt the shape of the cross-guards (thinking back on it I have some better ideas of how to do so, but I like how it turned out anyways). I decided to just make them straight but still make them of wood, in the end using sections of 3/8"D wooden rods surrounded by wicker sticks. I painted the wooden rods black and with gold patterns, so at some angles the gold peeked out but the rest of the supporting rod remained unnoticed. By this point I had developed a bit of a red/blue theme, so I also painted the end of one red and the end of the other blue. They wouldn't be seen unless you took off the caps, but I was having fun and it felt like a nice little hidden detail. -
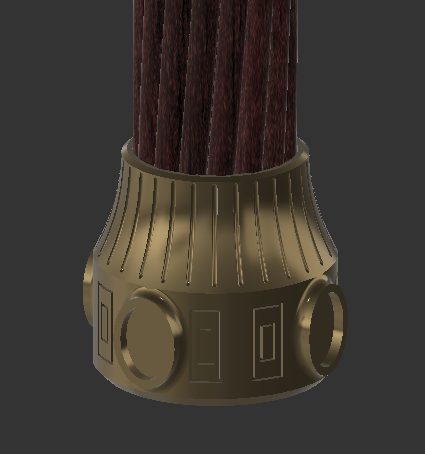
The Pommel
-
The Handle